
Keeping your robot vacuum performing at its peak requires more than simply pressing the start button and walking away. One of the most overlooked yet critically important aspects of robotic floor care is the proper maintenance of robot vacuum brushes. These components work relentlessly across every cleaning cycle, collecting hair, dust, debris, and fine particles from various floor surfaces. Without consistent upkeep, even the most advanced cleaning system will lose efficiency, consume more power, and ultimately require costly part replacements far sooner than necessary.
Understanding how to maintain robot vacuum brushes correctly can significantly extend their usable life, preserve suction power, and protect the internal mechanics of your device. This guide walks through the complete maintenance workflow — from routine cleaning and hair removal to deep cleaning schedules, storage considerations, and knowing when a replacement is truly necessary. Whether you own an entry-level model or a high-end machine like those paired with the robot vacuum brushes accessory set for the Dreame L20 Ultra, these principles apply universally.
Understanding the Role of Robot Vacuum Brushes in Cleaning Performance
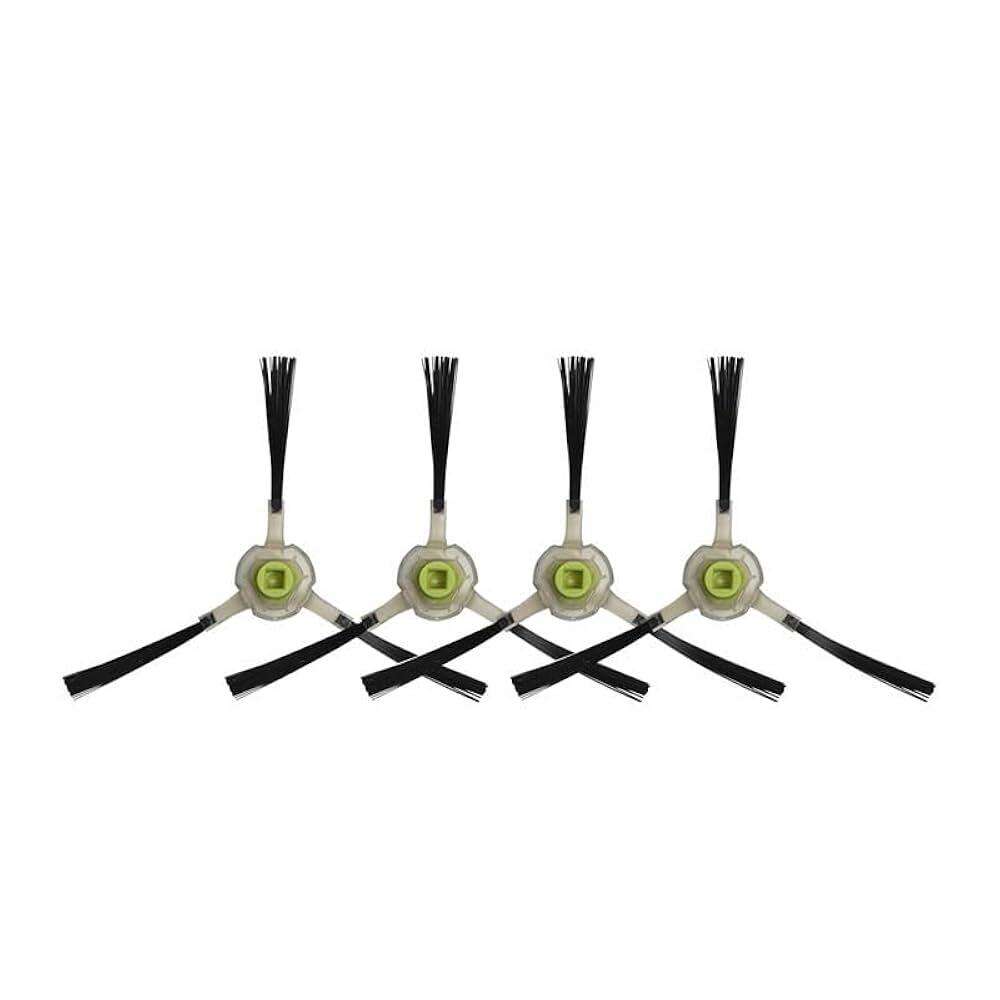
Main Brush vs. Side Brushes: Different Functions, Different Care Needs
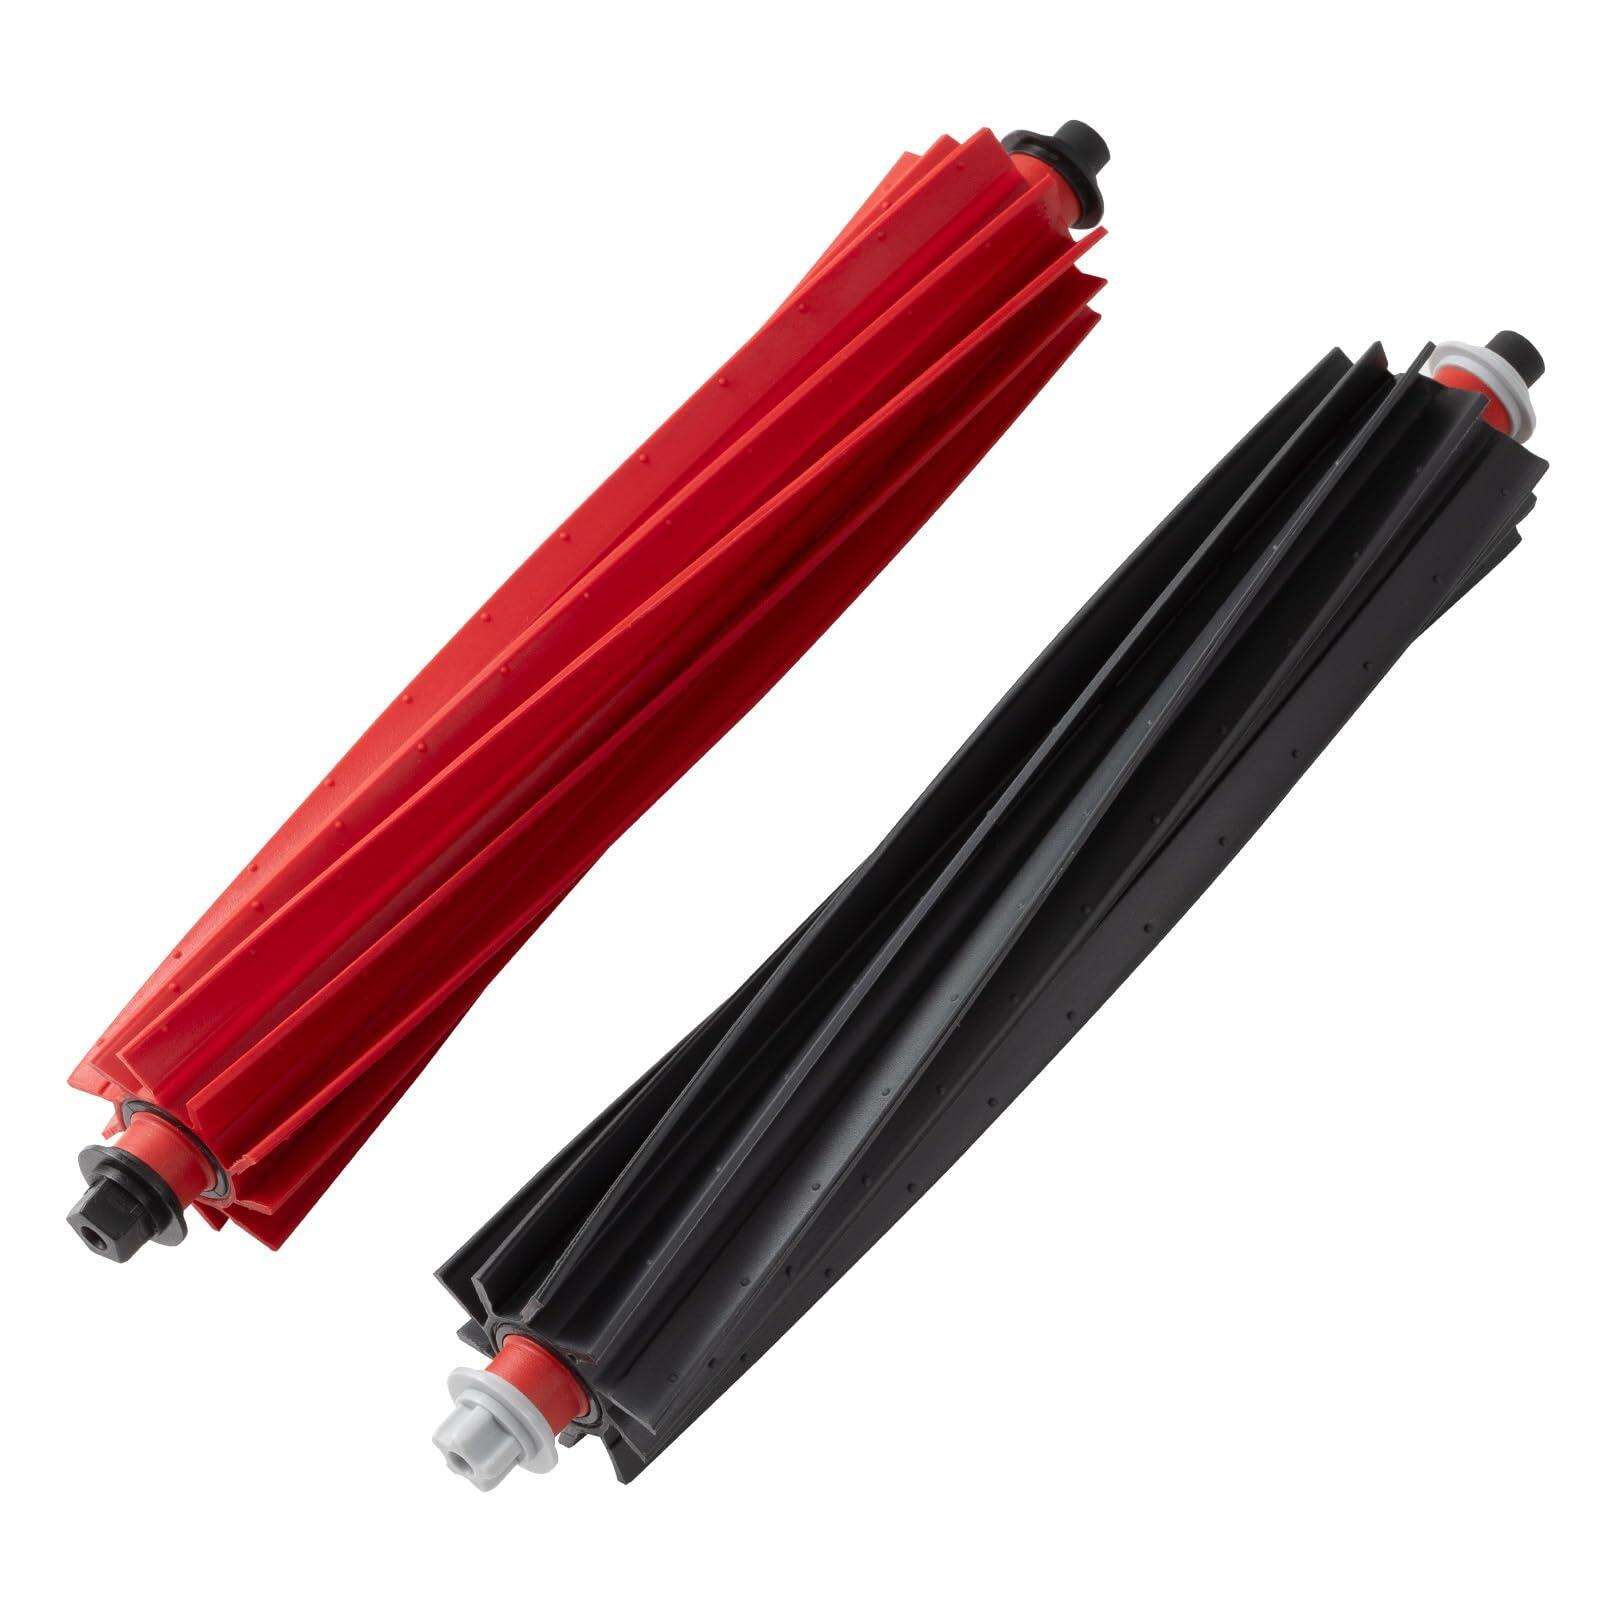
Robot vacuums typically use two types of robot vacuum brushes: the main roller brush positioned underneath the unit and the side brushes extending from the edges. Each serves a distinct mechanical role. The main brush agitates carpet fibers, loosens embedded debris, and feeds material directly into the suction intake. Side brushes, by contrast, sweep dust and particles from corners and edges inward toward the main suction path.
Because their functions differ, so does their degradation pattern. The main brush accumulates tangled hair and compacted debris much faster, placing significant strain on the motor if left uncleaned. Side brushes, while lighter in construction, can become bent or lose their sweeping angle after weeks of contact with walls, furniture legs, and transition strips. Understanding these differences helps you prioritize care and allocate your maintenance time appropriately.
Neglecting either type of robot vacuum brushes has measurable consequences on cleaning quality. A clogged main brush reduces airflow, directly weakening suction power. Deformed side brushes leave debris in corners and along baseboards, creating the illusion of a clean floor when particles simply were not reached. Addressing both brush types on a regular schedule is the foundation of effective maintenance.
How Brush Condition Affects Motor Load and Battery Life
There is a direct mechanical relationship between the condition of robot vacuum brushes and the load placed on the drive motor. When hair, thread, and fibrous debris wrap tightly around the brush roller, the motor must work significantly harder to maintain rotation speed. This increased resistance draws more current from the battery, reducing runtime per charge and accelerating battery wear over extended periods.
In commercial or pet-heavy households, this effect is amplified. Long pet hair can form dense mats around the brush axle within just a few cleaning cycles, creating enough friction to trigger overheating protection shutoffs in some models. Proactive brush maintenance is therefore not just about cleaning quality — it is a direct protective measure for your device's most expensive internal components.
A well-maintained set of robot vacuum brushes allows the motor to operate within its designed torque range, preserving efficiency and prolonging the overall service life of the unit. This principle is as relevant for consumer-grade devices as it is for professional-grade robotic cleaning equipment used in industrial or commercial settings.
Step-by-Step Routine Cleaning of Robot Vacuum Brushes
Removing and Disassembling the Main Brush Correctly
The first step in any maintenance routine for robot vacuum brushes is proper removal. Most modern robots feature a tool-free release mechanism for the brush compartment, typically a hinged cover secured by a latch or friction clip. Refer to your device's user manual to identify the correct release point, as forcing the cover can crack the housing or damage the brush end caps.
Once the main brush is removed, slide the end caps off the brush roller carefully. These caps often accumulate the densest hair tangles, and removing them exposes the axle points where the most friction damage occurs. Use the provided cleaning tool — usually a small blade or comb — to cut through and remove wrapped hair from the bristle rows and the rubber flap sections if your model uses a hybrid brush design.
After removing the bulk debris, tap the brush gently against a waste bin to dislodge fine dust trapped between bristle clusters. Avoid using compressed air indoors as this redistributes fine particulate into the air. If the brush shows significant grime, a quick rinse under lukewarm water followed by thorough air drying for at least 24 hours before reinstallation is an effective deep-clean approach that many users overlook.
Cleaning Side Brushes Without Causing Deformation
Side brushes on robot vacuum brushes are typically secured by a single screw or push-fit locking mechanism. Removing them weekly or biweekly allows you to clean both the brush arms and the mounting socket, where fine dust accumulates and can harden into abrasive residue. A soft toothbrush works well for cleaning the socket area without scratching the plastic housing.
The bristle arms of side brushes are made from flexible plastic or nylon and are prone to permanent deformation if bent against hard obstacles repeatedly. After removing them for cleaning, check whether the arms still radiate outward at the correct angle. If they have collapsed inward or curved irregularly, you can attempt gentle reshaping by soaking the arms in warm water for a few minutes, but significant deformation typically signals that replacement is the more efficient choice.
One detail many users miss is the accumulation of hair wrapped around the base post of side brushes. This hair binds tightly below the visible bristle arms and creates a low-level friction point that gradually wears down the rotation socket. Clearing this area each time you remove the side brushes adds only seconds to your routine but prevents a common form of premature wear.
Establishing a Maintenance Schedule That Matches Your Usage Patterns
Frequency Guidelines Based on Floor Type and Household Conditions
There is no universally correct interval for maintaining robot vacuum brushes because usage conditions vary dramatically between households. A home with hardwood floors, no pets, and minimal foot traffic may only require main brush cleaning every two weeks. A home with thick carpet, multiple shedding pets, and daily cleaning cycles may need brush inspection and hair removal after every single run.
As a practical starting point, most manufacturers recommend cleaning robot vacuum brushes at least once per week under standard household conditions. This frequency prevents the compaction that makes hair removal progressively more difficult over time. For high-load environments, a post-run brush check takes less than two minutes and eliminates the risk of debris reaching the motor housing.
Side brushes generally need less frequent attention than the main roller, but inspecting them during the same session as the main brush creates an efficient, consistent habit. Integrating brush maintenance into a fixed weekly routine — such as the same day you empty the dustbin — reduces the likelihood of extended neglect that leads to performance degradation.
Seasonal Adjustments and Special Circumstances
Certain seasonal and situational factors require temporary increases in maintenance frequency for robot vacuum brushes. During periods of heavy shedding in pet households, typically spring and fall, brush cleaning should shift from weekly to every two or three days. Similarly, after household events such as renovations, parties, or heavy cooking sessions that generate fine particulate, an immediate post-event brush inspection prevents abrasive particles from embedding further into the bristles.
Seasonal humidity changes also affect robot vacuum brushes in subtle ways. High humidity can cause fine debris to clump and adhere more firmly to bristle surfaces, making routine cleaning less effective unless the brush is fully removed and dried. In very dry conditions, static electricity increases the adhesion of fine dust to brush components, requiring slightly more vigorous cleaning strokes to fully clear.
Being responsive to changing household conditions rather than rigidly following a fixed interval is ultimately the most reliable strategy. Experienced users develop a quick visual assessment habit — glancing at the brush cover after each cycle — that allows them to identify buildup early before it becomes performance-impacting.
Recognizing When Robot Vacuum Brushes Need Replacement
Visual and Performance Indicators of Brush Wear
Even with excellent maintenance habits, robot vacuum brushes have a finite service life. The most visible sign of main brush wear is bristle compression — areas where the bristles have flattened permanently and no longer spring back when pressure is released. Compressed bristles cannot agitate carpet fibers or collect fine debris effectively, resulting in noticeably inferior cleaning results even on surfaces you clean daily.
On hybrid brushes that combine rubber flaps with bristle rows, check for cracking, tearing, or hardening of the rubber sections. These components rely on flexibility to create the wiping action that picks up fine particles from hard floors. Once the rubber loses elasticity, this wiping action deteriorates, and no amount of cleaning will restore its function.
Performance indicators include recurring error codes related to brush motor overload, audible changes in the brush rotation sound during operation, and visible debris left behind in areas the robot has passed over. If thorough cleaning fails to resolve these symptoms, the robot vacuum brushes have likely reached the end of their functional life and replacement is the appropriate next step.
Replacement Timelines and Choosing Quality Consumables
Most manufacturers recommend replacing the main brush every six to twelve months depending on usage intensity, and side brushes every three to six months due to their more rapid physical wear pattern. These are conservative estimates designed for average household use; heavy-use environments may require more frequent replacement cycles.
When selecting replacement robot vacuum brushes, compatibility with your specific model is the primary consideration. Brush dimensions, end cap design, and bristle configuration vary between models and generations. Using brushes designed for a different model — even one from the same brand family — can affect fit quality, rotation clearance, and ultimately cleaning performance.
Investing in OEM-compatible accessory sets that bundle the main brush, side brushes, filters, and other consumables provides a convenient, cost-efficient approach to ongoing maintenance. This ensures all wear components are refreshed together, preventing situations where a new main brush is paired with exhausted side brushes, creating an imbalanced cleaning performance profile.
Storage, Handling, and Long-Term Care Best Practices
Proper Storage When the Robot Is Not in Use for Extended Periods
When a robot vacuum is stored for extended periods — during travel, seasonal non-use, or while awaiting repairs — removing the robot vacuum brushes before storage prevents compression deformation and extends their usable life significantly. Brushes stored under the weight of the robot unit, even for a few weeks, can develop permanent flat spots in bristle rows that are not recoverable.
Store removed brushes in a clean, dry location away from direct sunlight, which can degrade rubber components over time. If the brushes were recently cleaned with water, ensure they are completely dry before storage to prevent mold growth within the bristle clusters, which can cause odors and degrade the bristle material.
Reinstalling freshly cleaned or new robot vacuum brushes when resuming regular use ensures the device returns to optimal performance immediately rather than requiring a break-in period with degraded components. This attention to storage conditions is a simple but highly effective long-term durability strategy that most users overlook entirely.
Handling Practices That Prevent Accidental Damage During Maintenance
Rough handling during routine cleaning is one of the most common causes of premature damage to robot vacuum brushes. Bending the main brush axle, cracking the end cap housing, or stretching side brush bristles beyond their elastic limit can all occur during maintenance sessions performed too quickly or without adequate care. Slowing down the removal and reinstallation process by even thirty seconds reduces the risk of incidental damage significantly.
Avoid using sharp metal tools to remove hair from brush bristles, as metal edges can nick the bristle filaments, creating rough edges that collect debris more aggressively and wear faster. The purpose-made cleaning tools included with most modern robots are designed specifically to cut hair without damaging the underlying brush structure — using them as intended is always the preferred approach.
When reinstalling robot vacuum brushes after cleaning, confirm the brush snaps securely into its mounting points and rotates freely without resistance before closing the brush compartment cover. A brush that is slightly misaligned will create friction noise, trigger error codes, and wear unevenly within a single cleaning cycle, negating the benefit of the cleaning session you just completed.
FAQ
How often should I clean my robot vacuum brushes?
For most households, cleaning robot vacuum brushes once per week is sufficient to maintain good performance. However, homes with pets, thick carpeting, or daily cleaning schedules may need to clean the brushes every two to three days. The key is to inspect the brushes regularly and adjust your cleaning frequency based on observed debris accumulation rather than following a rigid fixed schedule.
Can I wash robot vacuum brushes with water?
Yes, most robot vacuum brushes can be rinsed under lukewarm water to remove compacted dust and fine debris that dry cleaning cannot address. However, it is essential to allow the brushes to dry completely for at least 24 hours before reinstalling them. Reinstalling damp brushes can cause mold growth inside the brush compartment and may damage electronic components near the brush motor housing.
How do I know when to replace rather than clean my robot vacuum brushes?
If your robot vacuum brushes show visible bristle compression that does not recover after cleaning, cracked or hardened rubber sections, persistent motor error codes, or if cleaning the brushes no longer resolves poor cleaning performance, replacement is the appropriate action. A consistent maintenance routine extends brush life, but all brushes have a finite lifespan typically ranging from three to twelve months depending on type and usage intensity.
Do different floor types require different maintenance approaches for robot vacuum brushes?
Yes, floor type significantly influences maintenance requirements. Carpet use causes faster bristle wear and higher hair accumulation, requiring more frequent cleaning. Hard floor use tends to accumulate fine sand and grit that can abrade bristle surfaces over time, making periodic full rinses more important. Mixed-floor households should monitor brush condition more closely and may benefit from replacing brushes on a slightly more proactive schedule to maintain consistent performance across all surface types.
Table of Contents
- Understanding the Role of Robot Vacuum Brushes in Cleaning Performance
- Step-by-Step Routine Cleaning of Robot Vacuum Brushes
- Establishing a Maintenance Schedule That Matches Your Usage Patterns
- Recognizing When Robot Vacuum Brushes Need Replacement
- Storage, Handling, and Long-Term Care Best Practices
- FAQ