
Keeping your robot vacuum running at peak efficiency depends heavily on one often-overlooked component: the filter. Robot vacuum filters are responsible for trapping fine dust, allergens, pet dander, and microscopic debris before air is exhausted back into your living space. When these filters are neglected, suction power drops noticeably, the motor works harder than necessary, and the overall lifespan of your device can be significantly shortened. Understanding how to maintain them correctly is one of the most impactful things you can do to protect your investment.
This guide is designed to walk you through the full maintenance process for robot vacuum filters — from understanding their types and roles, to cleaning techniques, replacement schedules, and the practical habits that separate a device that lasts two years from one that lasts six. Whether you have a high-traffic home, multiple pets, or simply want to reduce long-term costs, proper filter care is the foundation of a reliable robotic cleaning system. Let's break it down step by step.
Understanding the Role of Robot Vacuum Filters
Why Filters Are Critical to Vacuum Performance
Robot vacuum filters serve as the last line of defense between the collected debris and the vacuum's internal motor and fan assembly. Without a functioning filter, fine particulate matter would bypass the dustbin and enter the motor chamber, causing wear, overheating, and eventual failure. The filter essentially determines how clean the air leaving the robot actually is and how effectively the suction channel remains unobstructed.
In homes with pets or allergy-sensitive residents, the role of robot vacuum filters becomes even more critical. High-efficiency filters are capable of capturing particles as small as 0.3 microns, including many common allergens and airborne irritants. When these filters are clogged or degraded, the machine may redistribute rather than remove harmful particles — the opposite of what you want from a cleaning device.
Beyond air quality, a dirty or damaged filter restricts airflow, which directly reduces suction. The vacuum's motor compensates by spinning faster or drawing more current, placing additional stress on the entire drive system. Keeping your robot vacuum filters in good condition is therefore not just a hygiene concern — it's a mechanical necessity.
Types of Robot Vacuum Filters and Their Maintenance Needs
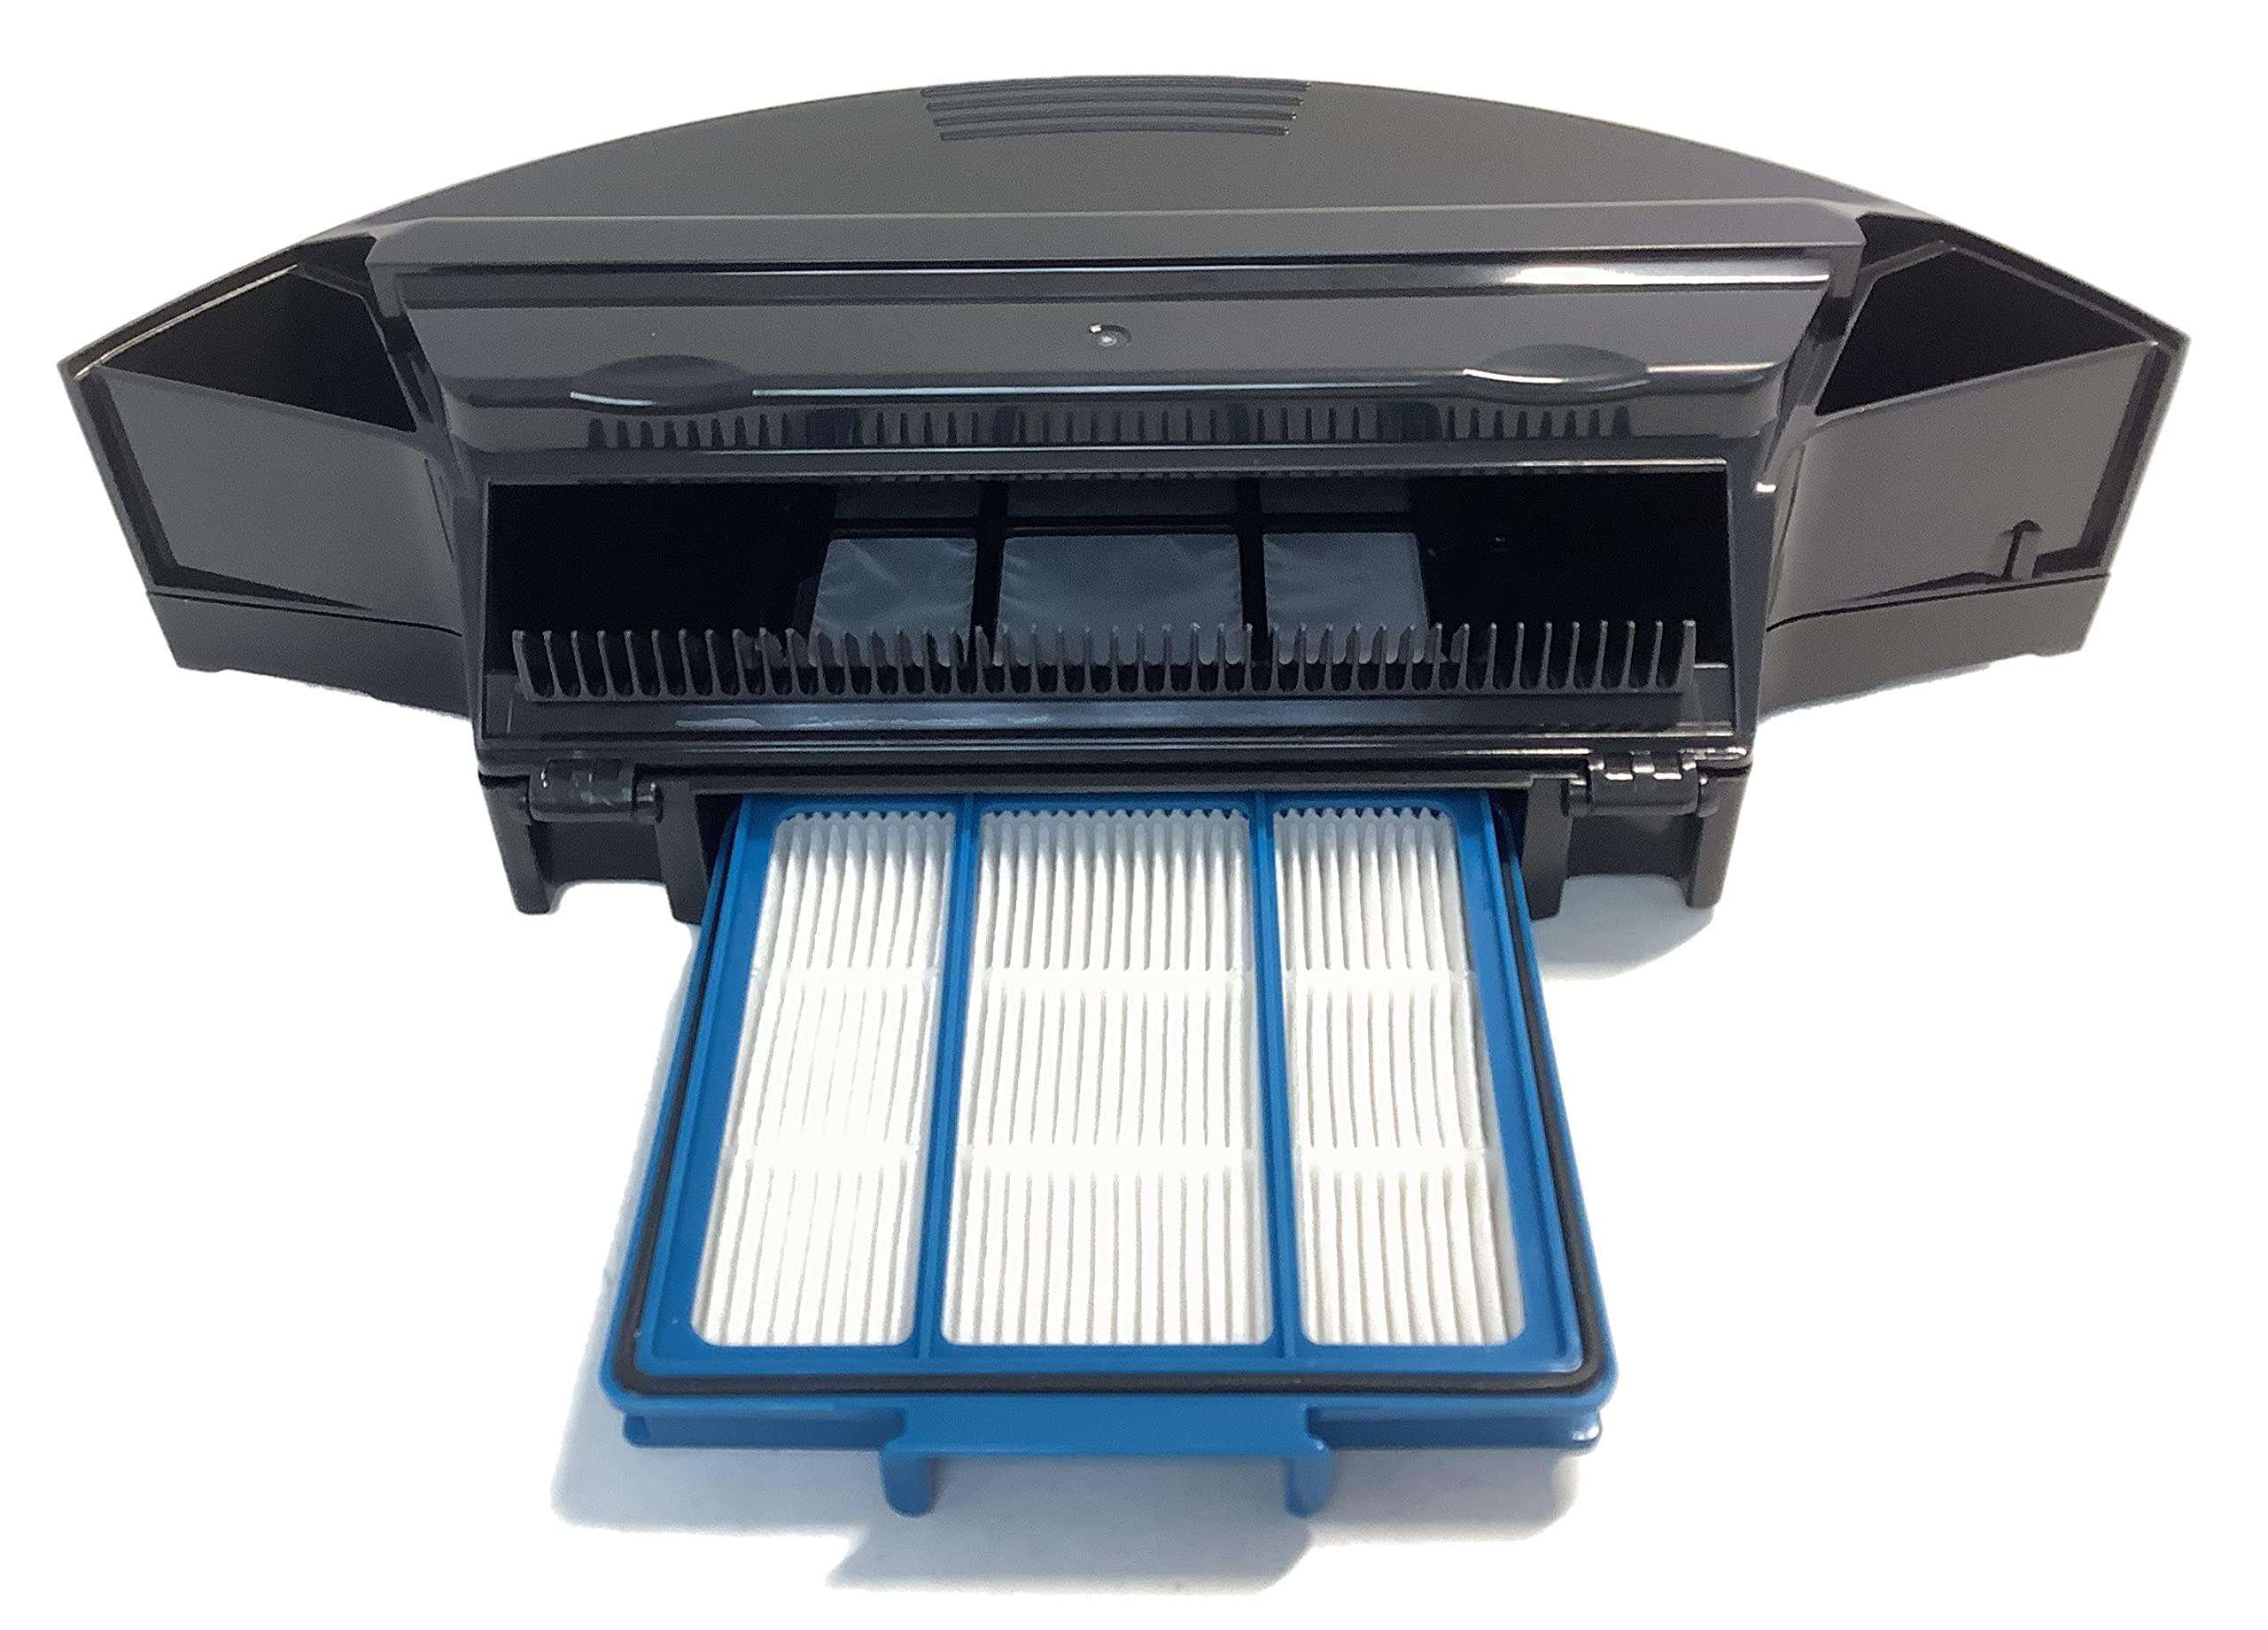
Most modern robotic vacuums use one of three filter types: foam filters, sponge pre-filters, or HEPA-style fine filters. Many devices use a combination — a coarser foam layer to capture larger particles, followed by a fine filter for microscopic debris. Recognizing which type you have is the first step to maintaining it correctly, because each responds differently to cleaning methods.
Foam and sponge robot vacuum filters are generally washable, though they must be completely dry before reinstallation. HEPA-style filters, on the other hand, are typically not designed for wet cleaning. Water can collapse the microscopic fiber matrix that gives these filters their high-efficiency rating, permanently reducing their performance even after they dry. Always verify the manufacturer's guidance before applying any moisture.
Understanding the specific design of your robot vacuum filters ensures you use the right technique at the right time. Applying the wrong method — such as washing a non-washable HEPA filter — can do more damage than no cleaning at all. When in doubt, dry-cleaning methods are the safer default for most fine filtration components.
Step-by-Step Cleaning Process for Robot Vacuum Filters
Preparing for Filter Removal and Inspection
Before you begin any maintenance on your robot vacuum filters, make sure the robot is powered off and disconnected from its charging dock. Attempting to remove components while the device is powered can trigger the motor or cause accidental sensor damage. Place the robot on a flat, clean surface with good lighting so you can clearly see what you're working with.
Remove the dustbin first, as most filters are housed either inside or directly adjacent to it. Take note of how the filter is oriented before pulling it out — some filters are asymmetric and must be reinserted in a specific direction to create a proper seal. A filter installed backward or loosely can allow unfiltered air to bypass the system entirely, negating its function.
Once removed, hold the filter over a trash bin and gently tap it several times to dislodge loose debris. This preliminary step removes the bulk of accumulated dust without risk of pushing particles further into the filter material. It's a simple action but one that significantly improves the effectiveness of whatever cleaning method follows.
Dry Cleaning Techniques for HEPA-Style Filters
For high-efficiency robot vacuum filters that are not rated for washing, dry cleaning is the standard approach. Using a soft-bristle brush — an old toothbrush works well — gently sweep across the filter pleats in one direction only, working from the center outward. Avoid scrubbing back and forth, as this can abrade the filter media and create microscopic tears that reduce filtration efficiency.
A compressed air canister or a low-power handheld blower can also be effective for clearing debris from pleated robot vacuum filters. Direct the airstream from the clean side to the dirty side — meaning from the interior outward — to push particles out rather than deeper in. Keep the nozzle at least a few centimeters away to avoid damaging the filter media with concentrated pressure.
Dry cleaning extends the service interval between replacements but does not restore a filter to its original condition. Over time, ultra-fine particles bond to the filter fibers and cannot be removed without damaging the material. This is why even well-maintained robot vacuum filters eventually need to be replaced rather than just cleaned — degradation is gradual but inevitable.
Washing Foam and Sponge Filter Components
Washable foam filters can be rinsed under lukewarm running water, gently squeezing the foam to release trapped debris. Avoid using hot water, which can deform the foam structure, and never use soap, detergent, or cleaning solvents unless explicitly recommended by the manufacturer. These substances can leave residues that alter the filter's texture and may introduce odors into your home once the vacuum is running again.
After washing, press the foam gently between clean towels to remove excess moisture, then allow it to air dry completely at room temperature for at least 12 to 24 hours. This drying window is critical — reinserting a damp filter traps moisture inside the dustbin chamber, encouraging mold growth and creating unpleasant odors that become increasingly difficult to eliminate. Robot vacuum filters must always be bone-dry before being placed back into service.
Do not accelerate drying with a hair dryer, oven, or direct sunlight exposure. Heat can warp foam materials, and UV exposure over time degrades many polymer-based filter materials. Natural air drying in a well-ventilated area remains the most reliable method for preserving the longevity of your washable robot vacuum filters.
Replacement Schedules and Recognizing Worn Filters
Establishing a Practical Replacement Routine
Even with meticulous cleaning, robot vacuum filters have a defined service life. Most manufacturers recommend replacing fine filters every one to three months under normal use, while foam pre-filters may last slightly longer with regular washing. However, these are baseline recommendations — actual replacement intervals depend heavily on usage frequency, floor area, and the types of debris the robot encounters.
In homes with multiple pets, frequent cooking, or high-traffic areas with fine debris, robot vacuum filters may need replacement more frequently than the general guideline suggests. A practical rule of thumb is to inspect filters weekly and assess their condition visually. If the filter retains visible discoloration after cleaning, produces an odor, or is visibly torn or deformed, replacement is warranted regardless of how recently it was installed.
Building a maintenance calendar with scheduled filter checks prevents the gradual performance decline that many users attribute incorrectly to aging motors or battery issues. In the majority of cases, a robot vacuum that seems to have lost power simply needs fresh robot vacuum filters and a clean brush roll — not a costly repair or replacement device.
Signs That Your Filters Have Reached End of Service Life
The most common indicator that robot vacuum filters need replacement is a noticeable reduction in suction performance that persists even after cleaning. If the robot is leaving visible debris behind on floors it would normally clean thoroughly, the filter restriction is likely preventing the motor from generating adequate airflow. This is the filter telling you — in the clearest possible terms — that it can no longer do its job.
Another key signal is an unusual or musty odor emanating from the exhaust port during operation. This often indicates that the filter material has developed microbial growth, which no amount of cleaning will fully address. At this point, continued use without replacement means the robot is actively spreading the odor — and potentially the microbial particles — throughout your home with every cleaning cycle.
Physical damage is the most obvious trigger for immediate replacement. Any visible tearing, warping, or collapse of the filter structure means that unfiltered air is bypassing the media entirely. Compromised robot vacuum filters in this state provide essentially no protection to the internal motor components and no meaningful air filtration benefit. Replacement should happen immediately rather than at the next scheduled interval.
Sourcing Quality Replacement Filters for Long-Term Savings
Why Compatible Replacement Filters Are a Smart Choice
When the time comes to replace worn robot vacuum filters, choosing the right replacement matters as much as the maintenance habits that precede it. Compatible replacement filters that match the original specifications of your device ensure the same fit, sealing performance, and filtration efficiency as factory-supplied components. Using undersized or poorly matched filters creates gaps in the airflow path, defeating the entire purpose of the filter system.
For users of Dreame robotic vacuum systems, sourcing accessories that are specifically compatible with your model ensures you maintain the designed performance envelope of your device. Quality robot vacuum filters that are engineered to fit models like the L10 Plus, Z10 Pro, and D10 Plus will maintain the airtight sealing and filtration ratings the device was designed to deliver, protecting both air quality and motor longevity.
Beyond fit, replacement filter quality directly affects how long the new filter will last under real operating conditions. Higher-density filtration media captures more particles per unit of surface area, reducing the frequency at which filters become fully loaded. This translates to longer intervals between replacements, lower total cost of ownership, and a more consistently high-performing cleaning system over time.
Bundling Filter Replacement With Other Consumable Maintenance
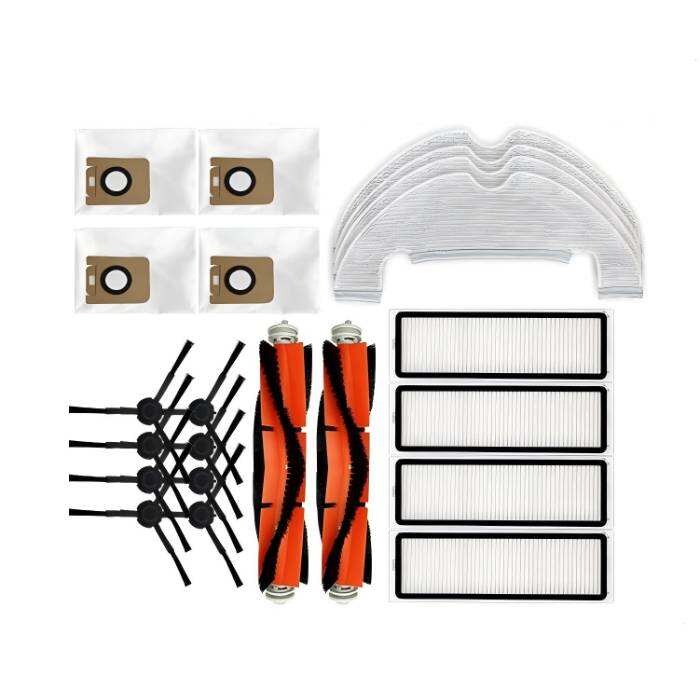
Filter maintenance doesn't happen in isolation — the main brush, side brushes, and dust bag or dustbin all interact with the filter system and affect overall vacuum performance. A clogged or tangled main brush reduces the amount of debris that reaches the dustbin, but it also creates resistance that can cause fine particles to be recirculated. When you replace robot vacuum filters, it's smart practice to inspect all consumables at the same time.
Side brushes accumulate hair and thread that can create vibration and strain on the motor at a system level. Replacing them on the same schedule as your robot vacuum filters ensures the entire cleaning mechanism is working together at its intended efficiency. This integrated approach to consumable maintenance is more cost-effective and less disruptive than replacing components reactively as each one fails separately.
Treating filter maintenance as part of a broader consumable service cycle — rather than a standalone task — is how experienced robot vacuum users extract the maximum useful life from their devices. Each component in the system depends on the others functioning correctly, and robot vacuum filters sit at the center of that interdependency.
FAQ
How often should I clean my robot vacuum filters?
For most households, robot vacuum filters should be cleaned at least once per week under regular use. In homes with pets, high dust levels, or frequent operation, cleaning every two to three days is more appropriate. Regular cleaning prevents filter loading that reduces suction, and it extends the time before a full replacement is necessary.
Can I wash all robot vacuum filters with water?
No — not all robot vacuum filters are designed to be washed. HEPA-style fine filters should only be dry-cleaned using gentle brushing or compressed air, as water damages the fiber matrix and permanently reduces filtration efficiency. Always check your device's documentation to confirm whether your specific filter type is washable before applying any liquid.
How do I know if my robot vacuum filter needs replacement rather than just cleaning?
There are several reliable indicators that robot vacuum filters have reached end of service life: persistent suction loss that doesn't improve after cleaning, a musty or unusual exhaust odor during operation, visible discoloration that won't come out, or any physical damage such as tears or warping. When these signs appear, replacement is necessary regardless of when the filter was last cleaned.
Do replacement filters need to match the original specifications exactly?
Yes — replacement robot vacuum filters should match the original dimensions, filtration rating, and sealing design of the components they replace. Using filters that are too small, made from lower-density media, or designed for a different model can create airflow bypasses, reduce air quality benefits, and potentially allow unfiltered debris to reach the motor. Always choose compatible replacements that are verified to fit your specific vacuum model.